Knowledge Base Home  Signup Forms GDPR Compliant Signup Form

You can add a checkbox to your signup form for GDPR using Benchmarks signup forms. Your subscribers can trust that the data they are providing is confidential and that you are GDPR compliant. Doing so can help you keep a good reputation with your subscribers and consequently grow your contact list.
![]() If you prefer a video tutorial, watch this video.
If you prefer a video tutorial, watch this video.
To create a GDPR compliant signup form, you’ll need the following.

![]() CONSIDER
CONSIDER
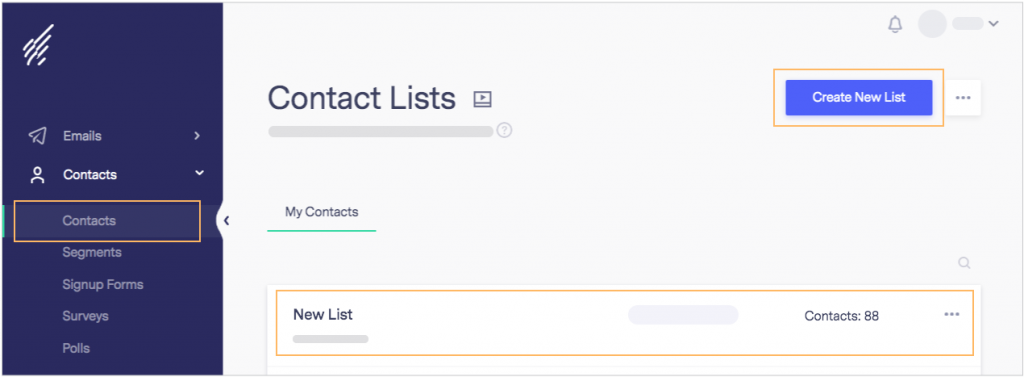
To add a checkbox to your signup form for GDPR compliance, you must first create a contact list or choose from an existing list and add a custom field to the same.

Once the field type is edited, we need to create the signup form compliant with GDPR.
![]() IMPORTANT
IMPORTANT
You can change any of the list fields to meet your needs, with the exception of the following: First Name, Last Name, Middle Name, and Email Address.
![]() Before getting started, please note the following:
Before getting started, please note the following:

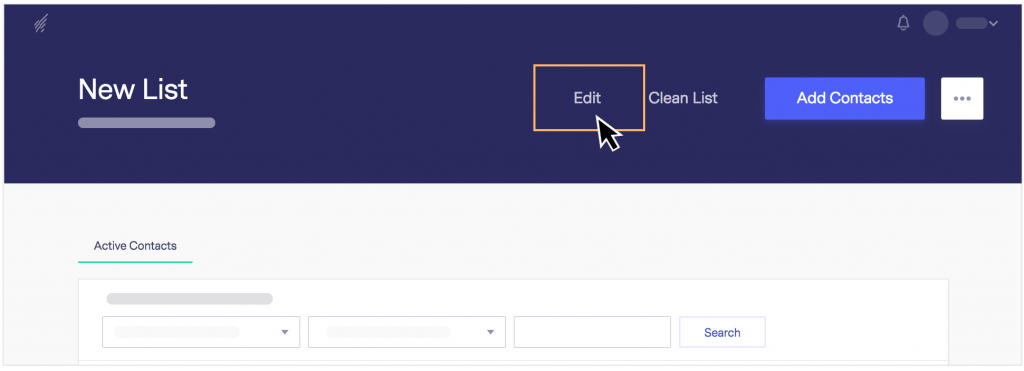
Now, it is time to create or edit your signup form.
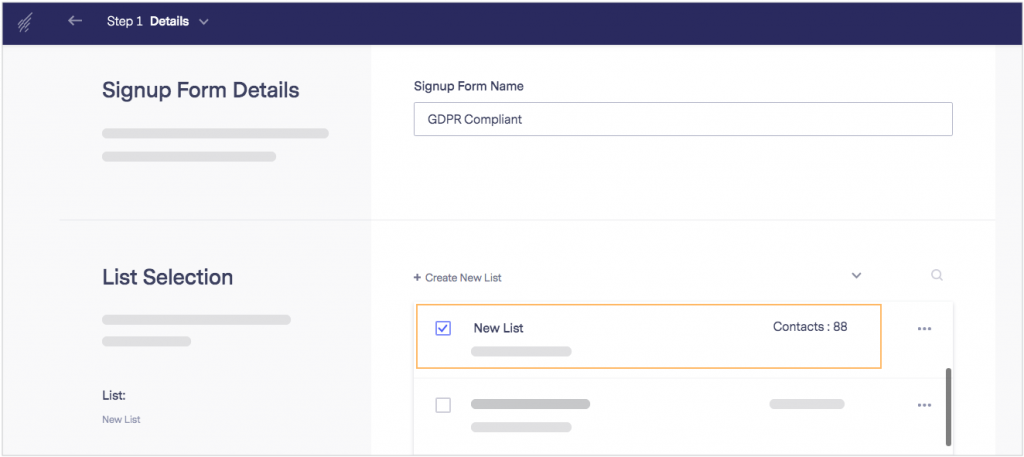
On the second step of the signup form creation process, you’ll add the field you edited in the previous step.
<a target="blank" href="https://www.benchmarkemail.com/privacy-policy/">I understand and accept the Privacy Policies.</a>
The text highlighted in yellow is what your visitors will see.

![]() IMPORTANT
IMPORTANT
The above checkbox cannot be created using the Small Embed form as it is not supported.
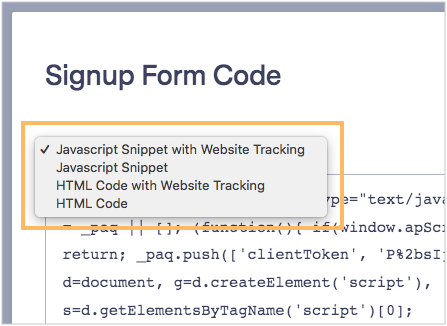
Copy the HTML code as instructed if you would like to add text to your form.
<a target="blank" href="https://www.benchmarkemail.com">I understand and accept the Privacy Policies.</a>
Remember to replace https://www.benchmarkemail.com with your site’s privacy policy page, and the text highlighted in yellow is what your visitors we’ll see.
Please be aware that modifying the codes given above could break the code. The HTML code must be exact for it to render correctly. For example, when using quotation marks, make sure you are using straight quotation marks and not curly. If you notice your quotes changing from straight to curly, copy the code to a text notepad, fix the error, and then paste it again. Curly quotes will not render the code correctly.

![]() SUGGESTION
SUGGESTION
Learn more about Website Tracking using Signup Forms, by clicking here.
If you have any questions, please contact our support team.


