Knowledge Base Home  Automation Pro Automation Pro Canvas Explained
The Automation Pro Canvas allows you to visualize your automation journey. Different shapes represent different nodes, and arrows enable you to create paths for your Journey.
This feature is only available in Pro and Enterprise plans, as well as any legacy plans.
Topics covered in this article:
Before continuing in the canvas, it’s essential you understand what triggers, actions, and conditions are, so you can continue reading to see every part of Automation Pro.
Triggers set the path for your automation. Whether you’d like to target existing contacts in a list or in a segment, or even contacts who have interacted with your site, the trigger you choose will get you started. Check out the Triggers available below.
Target contacts who have or will join a list. When choosing this method, there are three options to choose from.
Target contacts who have or will be added to a segment, similar to contact joins a list; this option has three different methods for targeting contacts. There is no limit on the number of segments you can select.
With Website Engagement, you can track subscribers that have visited any of the pages where your tracking code is installed. The tracking code will need to be installed before activating your automation. You can track specific pages, or you can track all of them. See the options below.
Wildcard: Can be used to track multiple pages.
![]() SUGGESTION
SUGGESTION
Click here to learn more about the options given for Website Engagement.
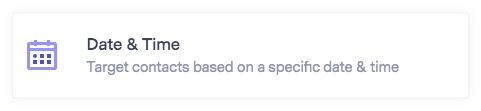
Place your list of current subscribers on a journey based on a specific date and time. Once the automation is active, any new contacts added to the triggered list, can not and will not be part of the automation.After selecting a trigger, the next step is to choose an Action or a Condition node. These two nodes determine what type of journey your contacts will go through.
Actions help automate and perform tasks.
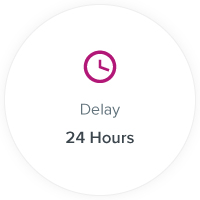
Will delay an action based on Hours, Days, Weeks, and Months.
If you are using the Delay node after an email sent, the delay should be no less than 12 – 24 hours. Adding a delay of 12 – 24 hours or more will give your recipients enough time to interact with your email. Otherwise, you risk not capturing all of the opens.
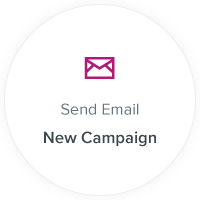
Create a new email or choose from your past emails or templates.
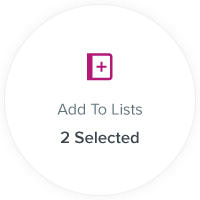
Automatically add someone to a specific list based on their previous action.
![]() CONSIDER
CONSIDER
When using the Add to List option, the contact will not be deleted from their original list. If that is an action wanted, you’ll need to use the action Remove From List.
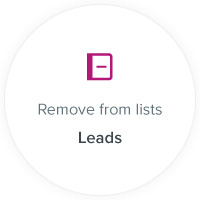
Remove contacts based on their engagement or non-engagement.
Update your custom Facebook Audience by adding or removing people from those lists. You’ll first need to integrate the two services.
Conditions allow you to create new journey paths based on subscriber events.
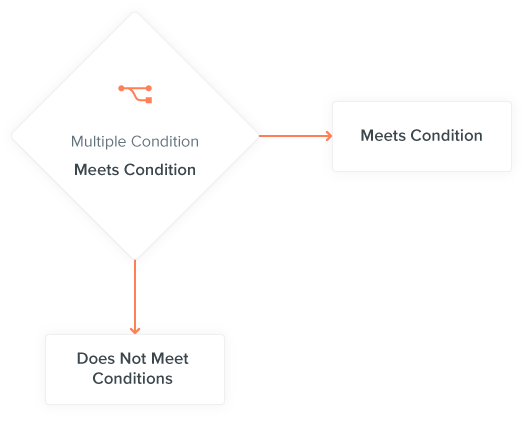
Multiple Conditions allow you to condition based on IF or Else, the options are In List, Not in List, Has Opened Email Has not Opened Email. If it meets the conditions, you will have to select what to do next, and if it does not meet the conditions, you can also assign it a condition such as Add Wait Time, Send Email, Add to List, Remove From List, etc.
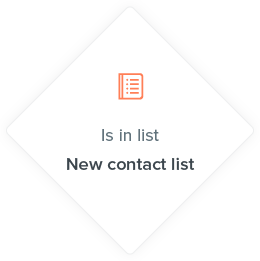
Engage with contacts based on the lists they are in.

Engage with contacts based on the segments they are in or are not in.
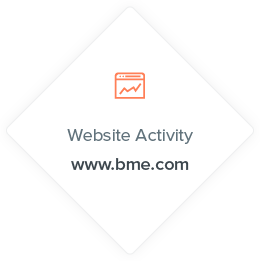
Conditions are based on Website Activity, such as visiting any tracked page, Specific URL, or a page that contains a specific URL.
Conditions are based on email engagement, such as:
![]() IMPORTANT
IMPORTANT
For Multiple Conditions using the Email Engagement node, the accuracy of engagement data will vary based on the email client. The “Has opened email” condition will include possible and confirmed opens. The “Has not opened email” condition may not capture all unopened emails.
After selecting a Condition, you can select an action to take place or select another condition.
The Node Summary icon summarizes the contacts who have passed through a step in your automation. The summary also provides a count each time the contact enters the step in your automation. You’ll see a higher count for a contact if the node configures multiple lists, if the contact was deleted and later re-added, and finally, if the contact has multiple sessions on a tracked website.
Summary of how many contacts started the automation; this total includes duplicate contacts.
Contacts who have entered the node multiple times will show as duplicates.

![]() CONSIDER
CONSIDER
Whenever you are in Automation Pro, your tracking code will be available on the top-right corner of your screen. If selected, you’ll see a list of pages or sites where your tracking code is installed. Click on Get Tracking Code to copy your code. To learn more about how to install your tracking code, please click here.
The Connection arrow icon, by default, goes to your next node, it allows you to reconnect and disconnect actions or conditions. The connection arrow can be altered and changed to another node; however, If there isn’t a connecting arrow, you will not be able to activate your journey. Each node must connect to another.
You can delete Arrows, by hovering over the node and clicking on the X option.

The Trash Can icon will allow you to delete paths and nodes.
The system will automatically detect if there is an error in your journey, by displaying a red dot and also header message will appear.

The Zoom option lets clients whose automation is extensive get a full view of the automation. Use the zoom out option to see your entire automation or zoom in to see a specific node.
By clicking on the Reset icon, it will bring you back to a normal view.

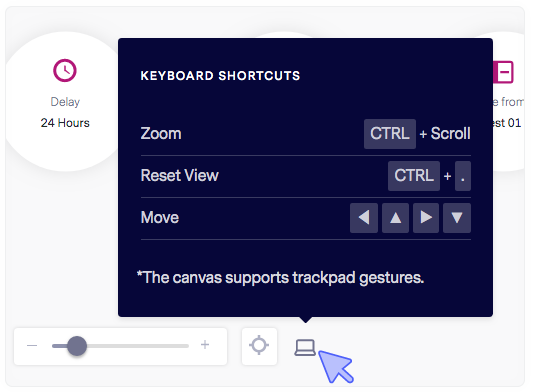
To zoom in our out: CTRL+ Scroll
To reset view: CTRL+ .
To move around the canvas: Use your keyboard arrows.
Initially, when you start your automation, you use a template, or you start from scratch. However, if you change your mind, the Templates option is located in the bottom section of the canvas. Here you can do the following:
Before exiting the canvas, make sure you save your work. Anytime you confirm a node by clicking save, the entire automation saves. However, the canvas does not autosave automatically.
When you are ready to activate your automation, click on the Activate option. Keep in mind that once the automation is live, you are limited on what nodes can be changed.
All Journeys will start from left to right. However, it was made to be flexible, allowing you to create your paths in the order you wish to see them. You will be able to click and drag any of your nodes to adjust the view of your canvas.
If you have any questions regarding the canvas and its icons, please feel free to contact our support team.

