Knowledge Base Home  Integrations Signup Forms Benchmark Email Lite Plugin for WordPress
The easiest way to get new sign-ups is to add a signup form directly to your WordPress site. We recommend installing the Benchmark Email Lite Plugin into your WordPress account.
Topics covered in this article:

You can also add your Benchmark signup form without installing the Benchmark Email Lite plugin. Click here to learn how.
![]() Before getting started, consider the following.
Before getting started, consider the following.
![]() If you prefer a video tutorial, watch this video.
If you prefer a video tutorial, watch this video.
There are two options to install the Benchmark plugin. Both options are easy and fast.


![]() SUGGESTION
SUGGESTION
Enable automatic updates of the Benchmark Email Lite plugin. From the plugins option in the dashboard, select Enable auto-updates for Benchmark plugin.

Once you have installed the Benchmark Email Lite plugin, you can add your Benchmark form to any post or page on your WordPress site.
Embedded or small embed forms are displayed within your post or page, but popup forms will display according to your Benchmark’s form settings. Depending on the block you choose, you may not see the signup form in the editor. We recommend you use the Preview option to see what your form looks like before updating or publishing.
Choose the option of your preference to add your Benchmark signup form:
You can easily add one of your Benchmark forms to a WordPress post using the Benchmark block. The Benchmark block is only available once you have installed the Benchmark Email Lite plugin.
Here is how:


In the edit post page, you will see a blue banner with the message: Benchmark signup form will display here.

On your published page, you will see the form. However, pop-up forms will display according to your Benchmark’s form settings.
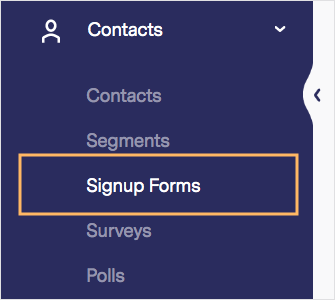
Shortcodes are an easy way to use any of your Benchmark forms in the WordPress block editor, classic editor, or a third-party page builder. You will find a list of your signup form’s shortcodes in the Shortcodes option.
To add a form via the Shortcode block in the WordPress block editor:


![]() IMPORTANT
IMPORTANT
Adding a shortcode may be different if you are not using the WordPress block editor.
Depending on your site’s WordPress theme, you may be able to add widgets in different site areas, like sidebar or footers.
![]() CONSIDER
CONSIDER
Some WordPress themes are not widget-aware, and will not have the option to add a signup form within a widget.

To change your WordPress theme, go to Appearance in the sidebar menu and select a new theme. Common themes with the widget option are ones containing sidebars or footers.
If you selected a theme with the widget options, follow these instructions to add a signup form in your sidebar or footer:


Popup forms will display according to your Benchmark form settings.

You can create a post as a Benchmark email from your WordPress account. The plugin will use your post’s information to fill in your email details in Benchmark.
Follow these steps to create your first Benchmark email from a WordPress post:


![]() SUGGESTION
SUGGESTION
To learn more about creating regular emails, click here. Additionally, discover how to get your real-time email reports here.
If you can’t access WordPress plugins, there are other options to add your Benchmark forms to your WordPress posts or pages. You can add your Benchmark signup form using the custom HTML block or add the form as a link.
As a reminder, the Benchmark Email lite plugin is free, and its installation is simple. In addition, with the plugin, you can add embedded, small embed, and even popup forms.
Embedded and small embed codes can be placed in widgets, posts, or pages. However, popup forms can only be placed in widgets using the form’s Javascript code. Please note that widgets are only available in some WordPress themes.
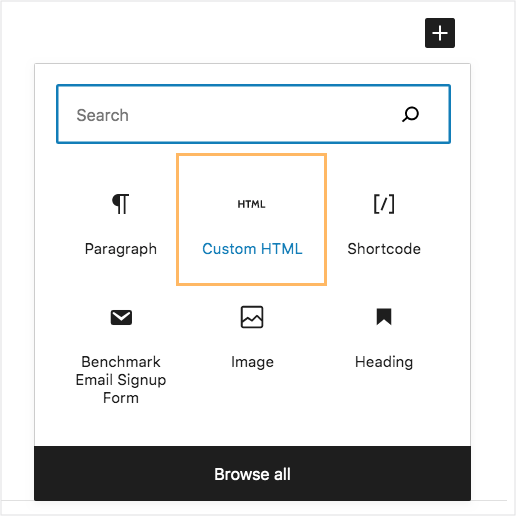
Follow these instructions to add your form using a custom HTML block:
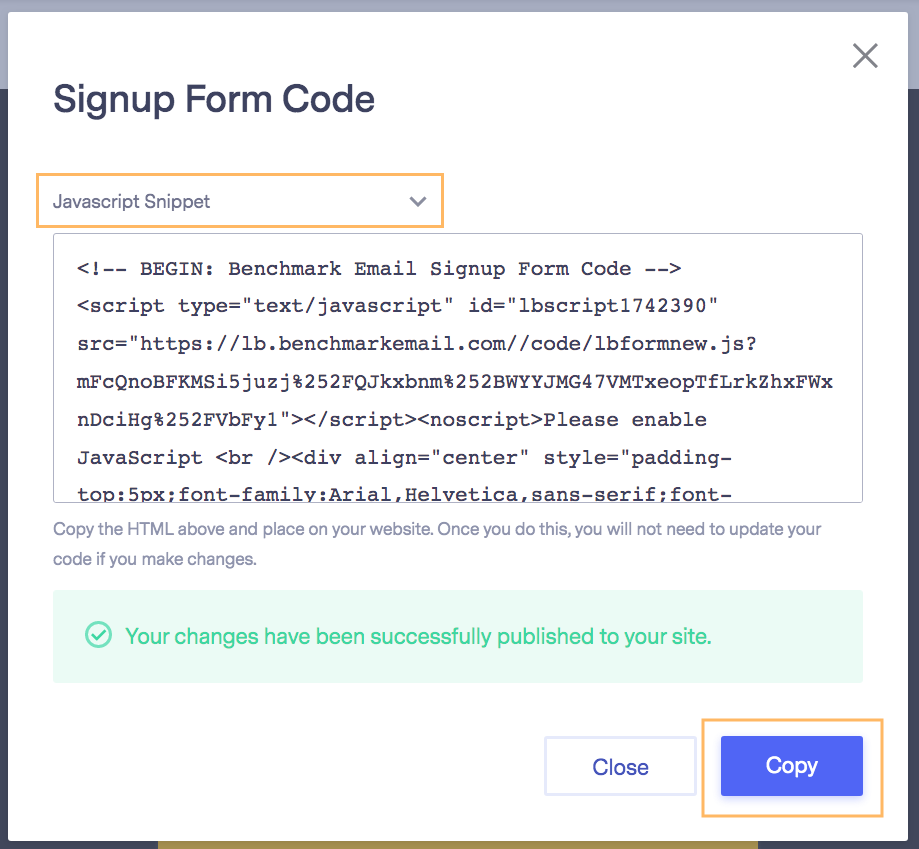
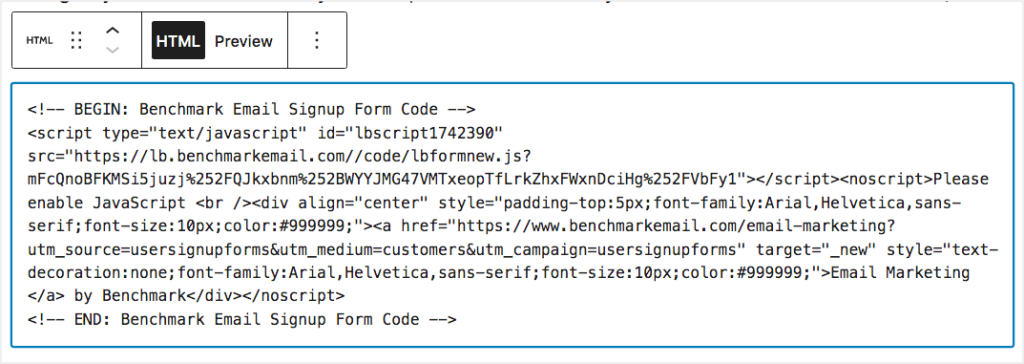
You will see the HTML code. If you want to see the form, select Preview. If using a popup form, the form will appear blank in the editor. To see the popup form, you’ll need to preview the page, and the form will display according to the form’s settings.
You can add a Benchmark embedded or small embed signup form link directly in a post, page, or widget. Here is how:
Example:

When a user clicks on it will be redirected to the form. Toggle the Open in a new tab option if you want the user to keep open the post or page source. Otherwise, the form will be open in the same tab.

![]() IMPORTANT
IMPORTANT
Only embedded forms can be shared as links. Click here to learn how to create an embedded form.
If you have any questions, please contact our support team.


