Knowledge Base Home  Getting Started Getting Started with Benchmark Email
We know you are eager to get started and send your first email, but before sending, let’s set up your account.
Topics covered in this article:

One of the requirements of the CAN-SPAM Act of 2003 is all senders must include a physical address in all email communication. The physical address should be the mailing address for your business; this can include P.O. Boxes.
We recommend adding your organization’s information name and domain to your account settings.
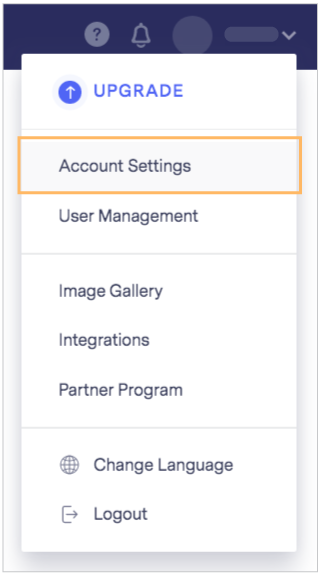
To update your organization’s name, address, and other information in your Benchmark account, see the steps below:
![]() SUGGESTION
SUGGESTION
To learn more about why your emails need a physical address, click here.
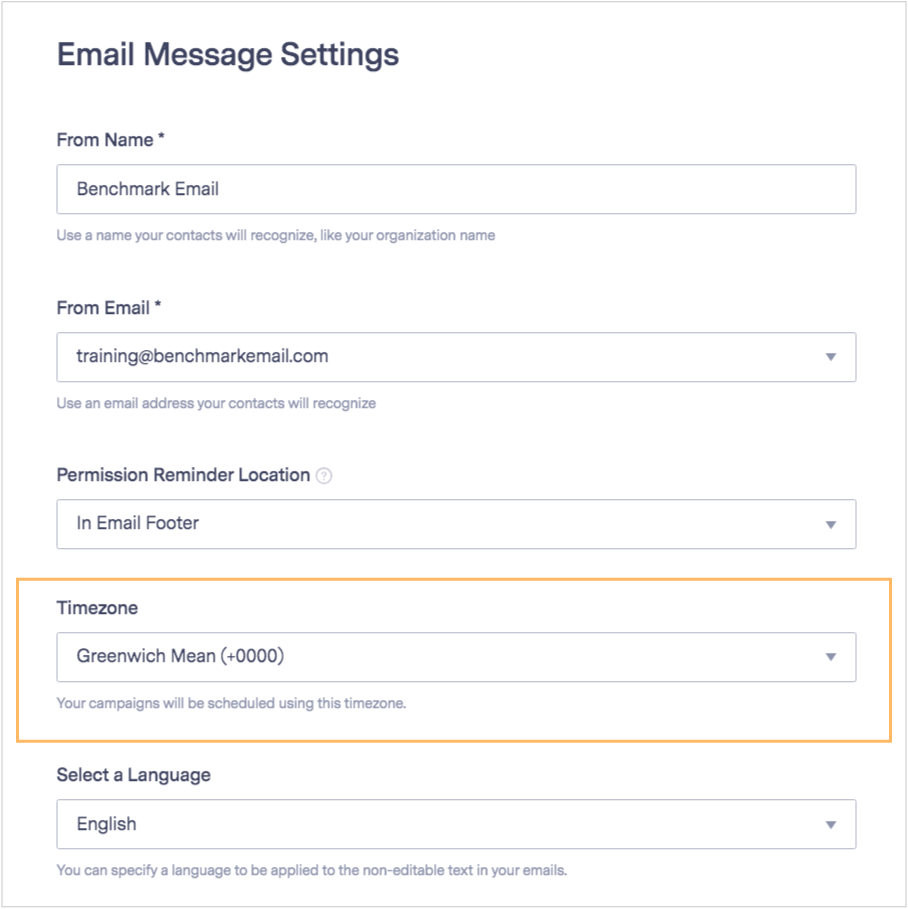
By default, all accounts are set to the “Greenwich Mean (+0000) Time Zone,” and your campaigns will be scheduled using this timezone. If this isn’t a timezone you want to use, no need to panic, there is an easy way to update this.
To change your time zone settings, follow the steps below:
![]() IMPORTANT
IMPORTANT
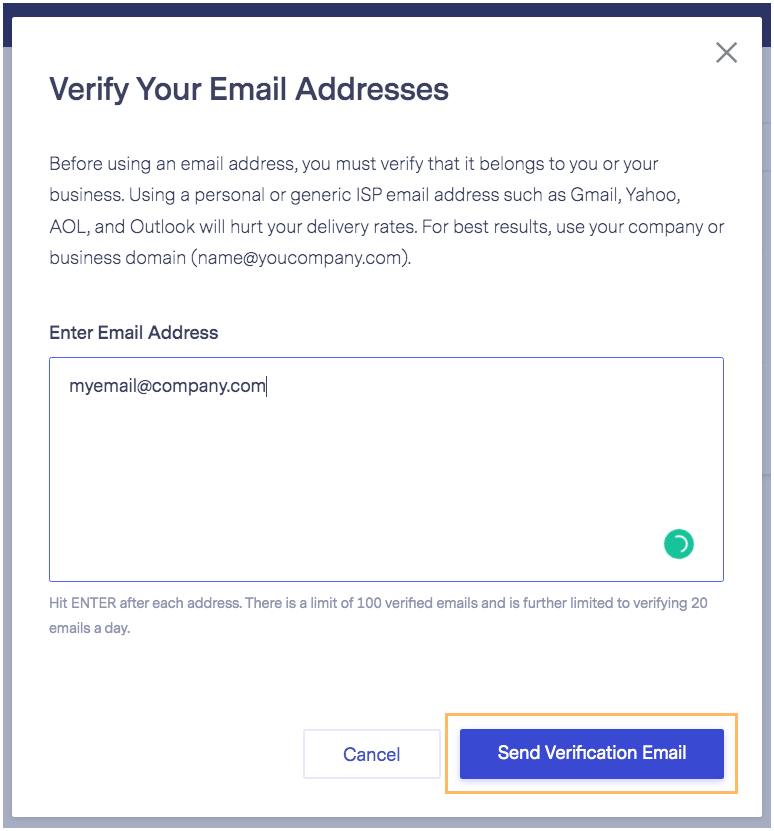
By default, Benchmark will use the email address used to create your account to send all your emails. However, you are not limited to one email address. You can add multiple emails, these can be used as From or Reply emails. To do this, you’ll need to first add and verify the email address.
![]() SUGGESTION
SUGGESTION
Avoid using no-reply email addresses. Email messages that use no-reply addresses are more likely to be filtered as Spam. In the long run, it can also hurt your sending reputation.
Here’s how you add and verify email addresses:

![]() IMPORTANT
IMPORTANT
Before using an email address, you must always verify it belongs to you or your business. Using a personal or generic ISP email address such as Gmail, Yahoo, AOL or Outlook will affect your delivery rates. To have better results, use your company or business domain. (name@youcompany.com).
By setting up email domain authentication, you confirming any emails being delivered with your domain are legitimate. Authenticating your email domain helps prevent phishing and spoofing and helps your emails avoid the Spam folder. If you are a new sender and have not yet established a sending reputation, ISPs could filter your email as Spam to protect their recipients.
As a new user, we understand you are eager to send and test your emails’ appearance and deliverability. The Test Email feature can help see how your email will appear in the inbox. Please note that test emails may land in the spam or junk folder. Our Test servers are used only for testing purposes and should not be used to measure your email’s deliverability. If you’d like to test the performance of your email, first set up domain authentication and then send an email to a portion of your list.
![]() CONSIDER
CONSIDER
To set up your domain authentication, you’ll need to generate your Benchmark CNAME records and add both to your DNS settings. To learn how to authenticate your email domain, click here.
The number one thing all email marketers should know is that a clean and up-to-date list is crucial to achieving good sending results. Before you begin sending emails from our service, or any for that matter, you should first verify your contact list. Verifying your contact list will help you weed out all of the invalid emails that could hurt your sending reputation.
![]() CONSIDER
CONSIDER
With Benchmark, this can be fast and easy. To learn more about verifying your contact list, please click here.
If you have any questions, please contact our support team.


